How to Make Butter in a Stand Mixer
Making butter at home might seem like a daunting task, but with the help of a stand mixer, it becomes an easy and rewarding process. Whether you're looking to add a homemade touch to your meals or simply curious about the process, creating butter from scratch is a fun culinary experiment.
In this guide, we'll walk you through every step of how to make butter in a stand mixer, ensuring you end up with delicious, creamy butter to enjoy.
Why Make Butter at Home
There is something uniquely satisfying about turning simple ingredients into a rich, flavorful spread that you can enjoy on fresh bread or use in cooking. Homemade butter offers a sense of accomplishment that goes beyond just cooking—it connects you to traditional culinary practices and enhances your appreciation for the food you consume.
The stand mixer is an essential tool in modern kitchens, simplifying what was once a labor-intensive process. Its consistent speed and power ensure that the cream is perfectly whipped, making the transition from cream to butter seamless. This not only saves time but also guarantees a smooth, uniform texture.
Understanding the Butter-Making Process
When cream is agitated, the fat molecules clump together, separating from the liquid. This transformation is magical to witness and is the foundation of butter-making. Knowing this process can help you troubleshoot any issues that might arise during your butter-making journey.
Ingredients and Tools You'll Need
Heavy Cream – The star of the show. Make sure it’s full-fat for the best results.
Salt – Optional, but it adds flavor if you prefer salted butter.
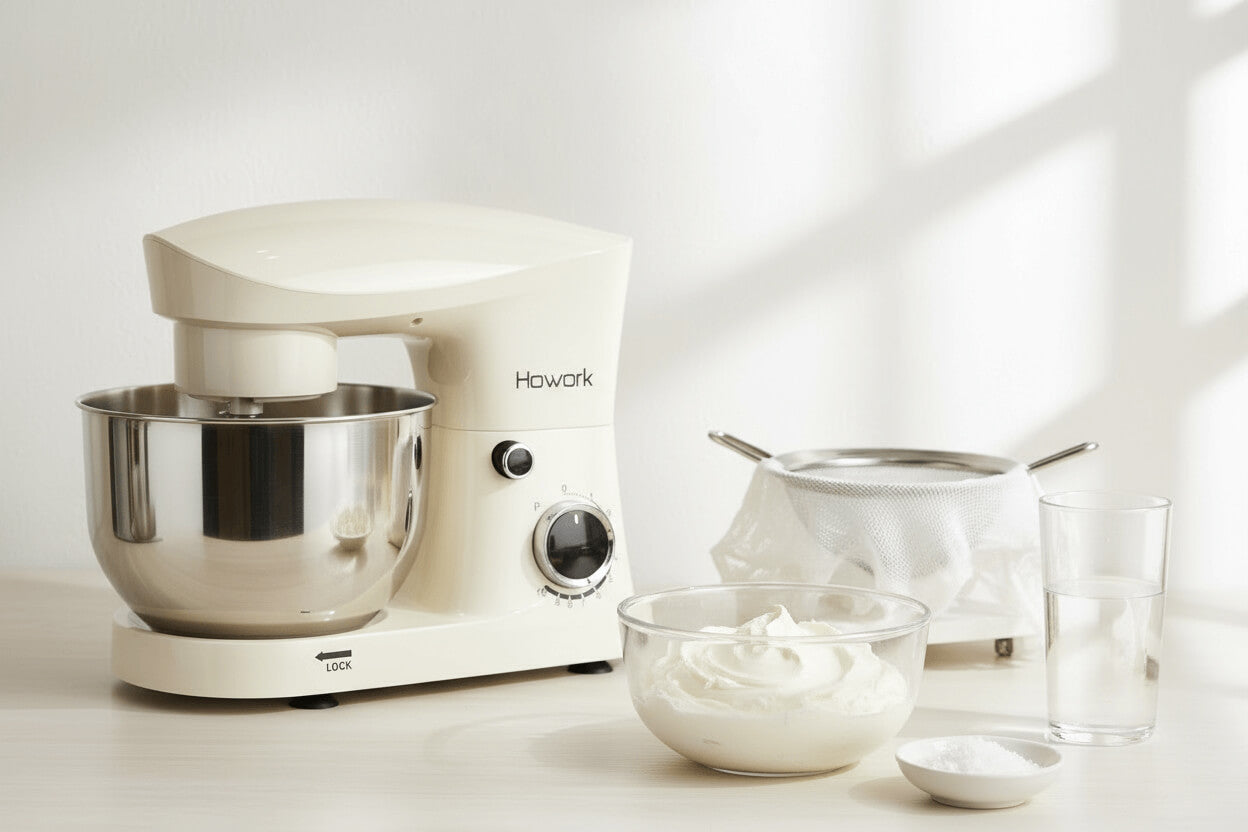
Stand Mixer – Essential for the task at hand.
Fine-Mesh Sieve or Cheesecloth – For draining the buttermilk.
Cold Water – Used to wash the butter.
Choosing the Right Cream
Choosing the right cream is crucial for successful butter-making. Opt for the freshest heavy cream you can find, preferably organic or from local dairies.
Avoid ultra-pasteurized cream as it has been heated to high temperatures, which alters its whipping properties and can result in a less satisfying texture.
The Role of Salt and Flavor
While salt is optional, it plays a significant role in enhancing flavor. If you choose to add salt, do it after washing the butter, so it mixes evenly without affecting the separation process.
Try experimenting with different types of salt—like sea salt or Himalayan pink salt—to add unique flavors to your butter.
Tools Matter
A stand mixer provides consistent speed and power, while a fine-mesh sieve or cheesecloth ensures thorough draining of buttermilk.
Cold water is essential for washing away any remaining buttermilk, extending the butter’s shelf life and improving its texture.
Step-by-Step: How to Make Butter in a Stand Mixer
1. Pour the Cream
Pour the heavy cream into your stand mixer bowl—about halfway full (around 2 cups). Make sure the bowl is clean and dry. The cream should be room temperature for faster whipping.
2. Start Whipping
Attach the whisk and start the mixer on medium speed. The cream will first thicken into whipped cream, then begin to separate into butter and buttermilk.
3. Watch the Transformation
You’ll notice soft peaks forming, followed by a grainy texture as the fats separate. When you see yellow butter solids and liquid buttermilk, you’re there!
4. Separate the Buttermilk
Stop the mixer and pour the buttermilk out through a sieve or cheesecloth. Save the buttermilk—it’s perfect for pancakes, biscuits, or dressings.
5. Wash the Butter
Add cold water to the mixer bowl and mix on low speed to rinse the butter. Drain the water, and repeat several times until the water runs clear.
This removes leftover buttermilk and helps the butter last longer.
6. Knead and Add Salt
Remove the butter from the bowl. Use a spatula or your hands to knead it and press out any excess water.
If you want salted butter, sprinkle in salt now and knead until evenly combined. You can also add herbs, garlic, or honey for custom flavors.
7. Shape and Store
Shape the butter into a log or press it into a dish. Cover and refrigerate to firm up.
Fridge storage: about 1 week
Freezer storage: up to several months
If refrigerated butter is too hard, let it sit at room temperature for a few minutes before using.
Tips for Perfect Butter
Temperature Matters: Room temperature cream whips faster and separates more easily.
Be Patient: The process takes several minutes—let the mixer do its job.
Flavor Variations: Try adding herbs, honey, or spices for unique butter flavors.
Benefits of Homemade Butter
Quality Control: No preservatives or additives.
Flavor Customization: Tailor to your taste.
Sustainability: Reduce packaging waste and support local dairies.
Homemade butter lets you control the ingredients, flavor, and freshness. Plus, it’s eco-friendly and satisfying to make from scratch.
Final Thoughts
Making butter in a stand mixer is a simple, rewarding, and delicious process. With fresh ingredients and a little patience, you can enjoy the creamy richness of homemade butter in just minutes.
Embrace this timeless culinary art—and enjoy the wholesome goodness of butter made by you!+
Share:
What is a Stand Mixer? Essential Guide & Reviews